How to Auto Clip Your Twitch Stream While You Are Still Live
Chat spikes, voice spikes and the story around them: how automatic Twitch clipping finds real moments, skips donation readings and hands you captioned vertical clips before the stream ends.
A four hour stream holds maybe six moments worth posting. Finding them by scrubbing the VOD the next morning takes longer than the stream itself, and by then the moment is old. Automatic live clipping watches the stream with you and cuts each moment while it is still fresh.
1. Let the chat point at the moment
Your chat is the best highlight detector you have. When something lands, messages per second jump far above the normal pace of that stream. A good clipper measures that jump against your own baseline, so a quiet channel with 20 viewers and a busy one with 20,000 both get their real peaks without firing on every burst of emotes.
The streamer's voice is the second signal. A loud reaction with a laugh or a "no way" right next to it marks a moment even when chat is slow, which matters for smaller channels.
2. Do not mistake a donation for a moment
Chat also floods when someone donates, cheers bits, gifts subs or raids. The streamer reads the alert, the text to speech voice reads the message, chat thanks the donor, and a naive clipper ships a clip of someone reading a thank you. Treat an alert next to a peak as a reason to look closer: keep the clip only if something happens beyond the reading, like the streamer's reaction or the story it starts.
3. Keep the whole conversation in one clip
Just Chatting moments are rarely a single second. A viewer asks a question, the streamer tells a story, chat explodes at the punchline. Two chat peaks a minute apart are usually the same conversation. Cut them as one window, so the question and its answer land in the same clip.
4. Close the story and title only what is in the clip
Every clip needs a setup, the moment and the reaction. Never end on "wait, listen to this" when the thing to listen to happens after the cut. The title and the hook should describe what a viewer will see and hear in those seconds; a title that promises a sound the clip does not have earns a swipe and a worse retention graph.
5. Frame it for vertical feeds
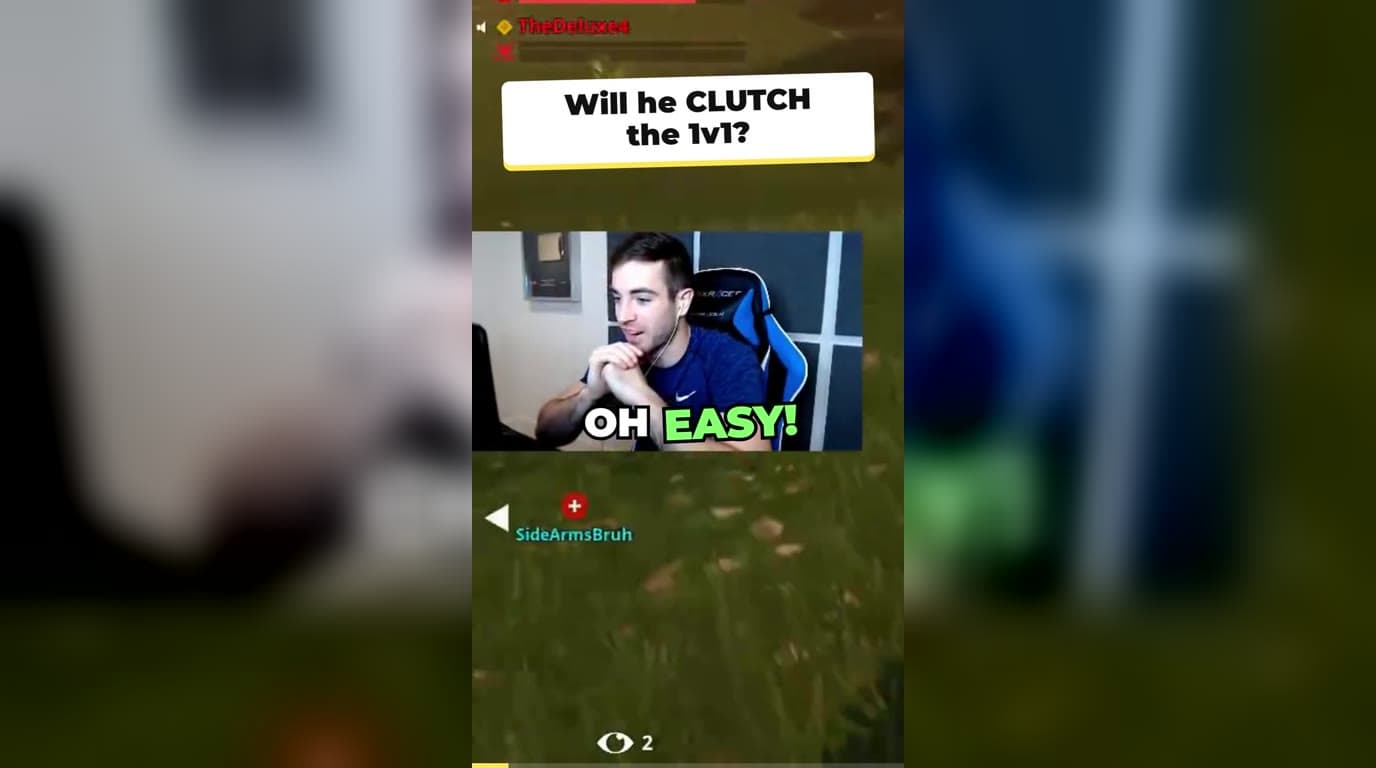
Most streams are 16:9 with a facecam in a corner. For Shorts, Reels and TikTok, put the face and the action in the frame, add captions word by word, and keep the clip between 20 and 60 seconds unless the story needs more.
How Sentarys does it
In Sentarys Live, connect your Twitch channel, pick a style and set a credit limit for each live. While you stream, Sentarys records, counts the chat against your own baseline, listens for reactions, lowers the weight of peaks that come right after an alert is read, joins neighbouring moments into one window and cuts captioned vertical clips. You find them in your projects before you say goodnight, ready to export or publish.
FAQ
Do I need to be a big streamer?
No. Peaks are measured against your own stream, so a small channel gets its real moments too.
Does it clip donation alerts?
Only when something worth watching happens around them. The reading itself counts for less than a real reaction.
What does it cost?
Each moment uses credits for the minutes of live around it, and the limit you set per live caps the total.
Ready to try Sentarys?
Paste a link or upload a video and get finished clips with captions. 6,000 free credits on signup, no credit card required.
Get Started FreeRelated Articles
How to Turn a Q&A Livestream Into Useful Shorts, Reels and TikToks
Find standalone answers in a long livestream, keep the demonstration visible and turn audience questions into a practical clip series.
How to Turn Streams Into Vertical Clips With Facecam on Top
A practical guide to gameplay clips for Shorts, Reels and TikTok: finding rage, clutch and fail moments, stacking the facecam over the game, placing captions and pacing the cut.
How to Keep the Same Character Across an AI Video Series
A practical method for consistent AI characters: write a series bible, build a turnaround sheet, start every shot from a reference frame, measure the face, animate, and redo only the shot that drifts.